> ## Documentation Index
> Fetch the complete documentation index at: https://auth0.com/llms.txt
> Use this file to discover all available pages before exploring further.
> Learn how to configure Auth0 as an identity provider using the SAML2 Web App addon for Cisco WebEx.
# Configure Cisco WebEx as SAML Service Provider
Use the following SAML configuration for Cisco WebEx.
1. Go to [Dashboard > Applications > Applications](https://manage.auth0.com/#/applications) and either create a new application or click the name of an application to update.
2. Go to the **Addons** tab and enable the **SAML2 Web App** toggle.
3. On the **Settings** tab, set the **Application Callback URL.** Note that Webex has an option to automatically provision new users. You will need to send that information as claims (`lastname`, and so on). If you integrate Auth0 with Cisco Spark services, read [Single Sign-On with Cisco Spark Services](https://collaborationhelp.cisco.com/article/en-us/lfu88u).
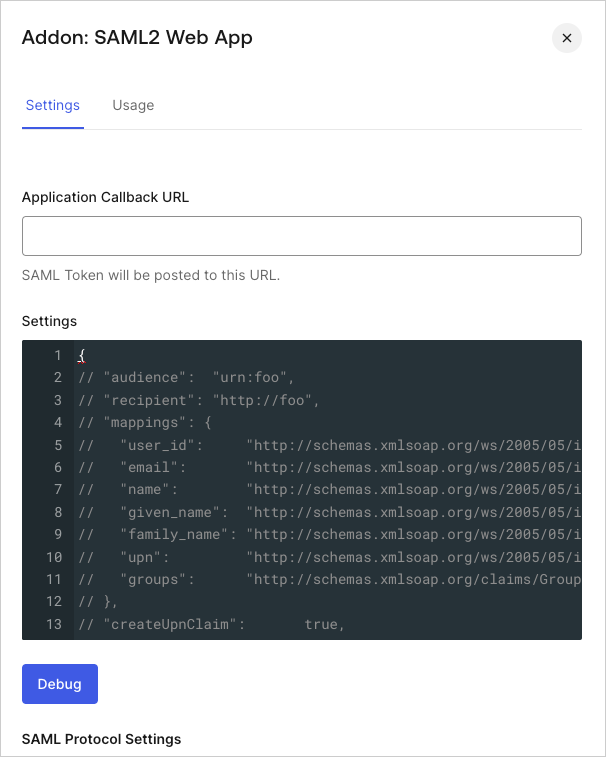 4. Paste the following code into the **Settings** text box and click **Debug**.
```json lines theme={null}
{
"mappings": {
"email": ["email", "uid", "Name_ID"]
},
"createUpnClaim": false,
"passthroughClaimsWithNoMapping": false,
"mapUnknownClaimsAsIs": false,
"mapIdentities": false,
"nameIdentifierFormat": "urn:oasis:names:tc:SAML:1.1:nameid-format:emailAddress",
"nameIdentifierProbes": [
"email",
]
}
```
5. Scroll to the bottom of the tab and click **Enable**.
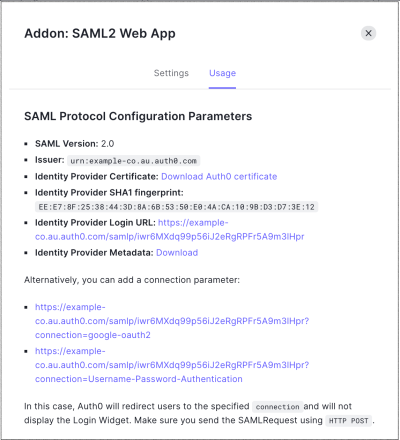
6. On the **Usage** tab, locate **Identity Provider Metadata**, and click **Download** to download the metadata file. You'll need this when you configure Auth0 as the identity provider in Cisco WebEx.
4. Paste the following code into the **Settings** text box and click **Debug**.
```json lines theme={null}
{
"mappings": {
"email": ["email", "uid", "Name_ID"]
},
"createUpnClaim": false,
"passthroughClaimsWithNoMapping": false,
"mapUnknownClaimsAsIs": false,
"mapIdentities": false,
"nameIdentifierFormat": "urn:oasis:names:tc:SAML:1.1:nameid-format:emailAddress",
"nameIdentifierProbes": [
"email",
]
}
```
5. Scroll to the bottom of the tab and click **Enable**.
6. On the **Usage** tab, locate **Identity Provider Metadata**, and click **Download** to download the metadata file. You'll need this when you configure Auth0 as the identity provider in Cisco WebEx.